In this post, we’ll focus on doing test case management with Axosoft Wiki.
QA teams approach testing in three main ways with Axosoft:
- The bulk pass
- QA team works through the same series of test cases before release
- Testing as a workflow
- Teams segment their testing phases via a series of workflow steps
- Testing all in one workflow step
- Teams use a “Ready for Testing” step to work through all testing for each item
In all three cases, you need to have your test cases written up in Axosoft Wiki. So if your test cases are written up somewhere as word documents, etc., consider organizing them with the Axosoft Wiki!

Power up the wiki
Axosoft Wiki allows you to build out your potential test cases in an orderly fashion. Each test case can occupy its own page and thus be granted its own unique link found in the upper right of each page. Axosoft’s wiki is unified with your user story management and bug tracking functionality, which makes it easy to stay in one place for testing. No jumping between apps. No relying on one person’s machine to run. No processing requests to update test cases, etc.
Combined with Axosoft’s custom URL fields, you can start to see how you can easily link your QA people to the test cases they need to run. Let’s walk through the three examples mentioned above.
1. Wiki and the bulk pass
Each release, you may have a large number of test cases that must pass testing before you can release your software to customers. These are likely the same test cases for each release. If so, then consider organizing these test cases in a template project folder with all the details included for each test case. Read this blog post for details on how to set up a template project.
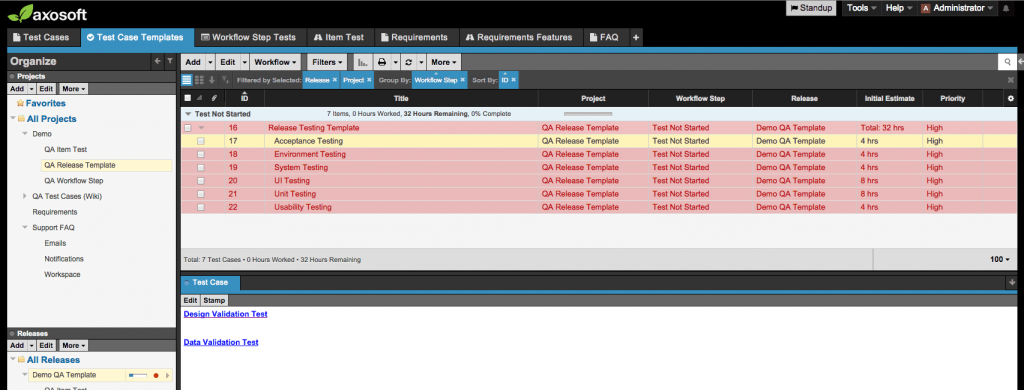
Here we have a sample test case template
Now that you have an idea of how to organize template project folders, we are going to add the wiki links. The easiest thing to do is to place the links in any large text field like we have displayed in the above screenshot. We like having the text field panel from the Details Panel docked to access the links quickly.
When release time comes, copy the template project folder and then add the test cases to your active release. This makes it easy to track their impact on the sprint via the Release Planner and to knock them out via your workflow. Then just rinse and repeat for the next release.
2. Wiki and the testing workflow
Do you have a workflow to represent each stage of testing? If so, then you should be able to associate the appropriate test cases via associated workflow field templates. You may have seen the option to use a custom field template when you edit a workflow step as shown below:

Each workflow step can get its own field template.
Create a field template for each stage in the test process. Within each template, associate the test cases required. Create a custom field with a Hyperlink input.
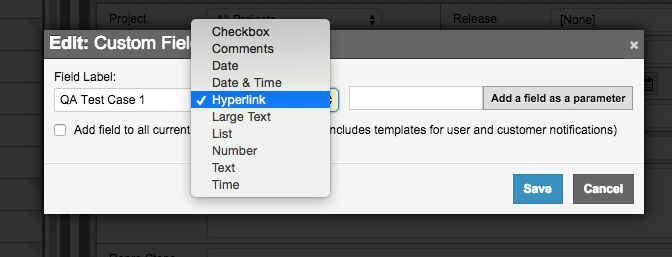
Be sure to select the hyperlink option when building the field
Then insert the URL to the wiki page associated with this test case. Create as many as you need.

This is how you copy the link for each wiki page for pasting.
Once you finish the templates, just match them up to the corresponding workflow step. Now when you move an item across this workflow, the appropriate test cases will be linked for reference.
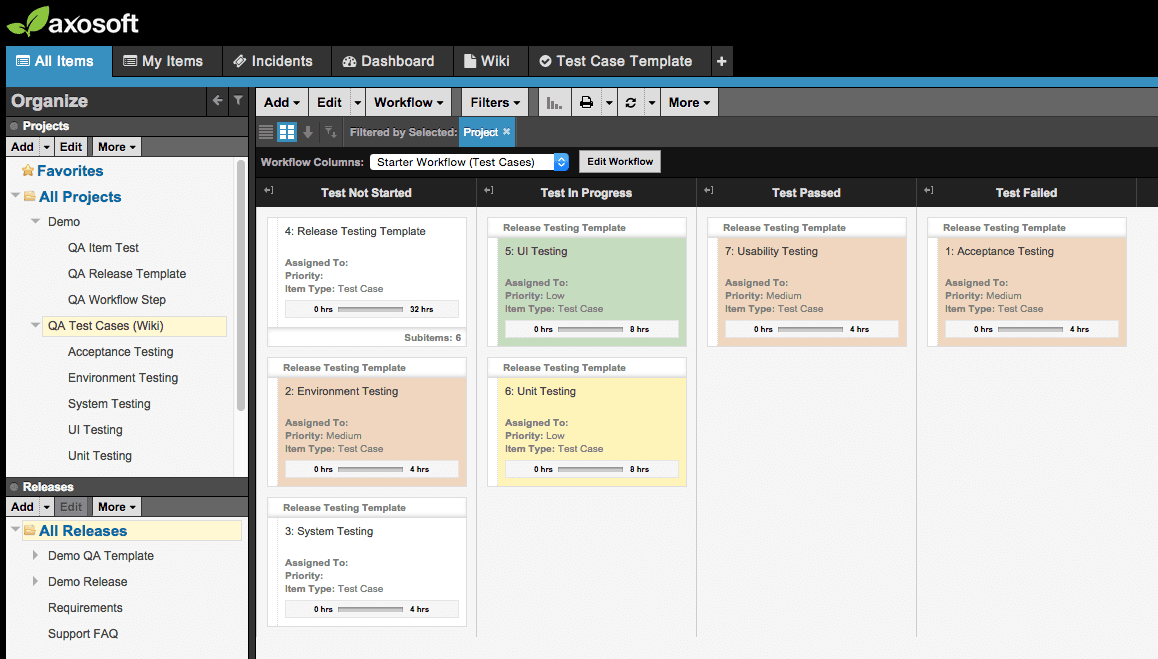
Here is the workflow
And here is what happens when you update the workflow step:
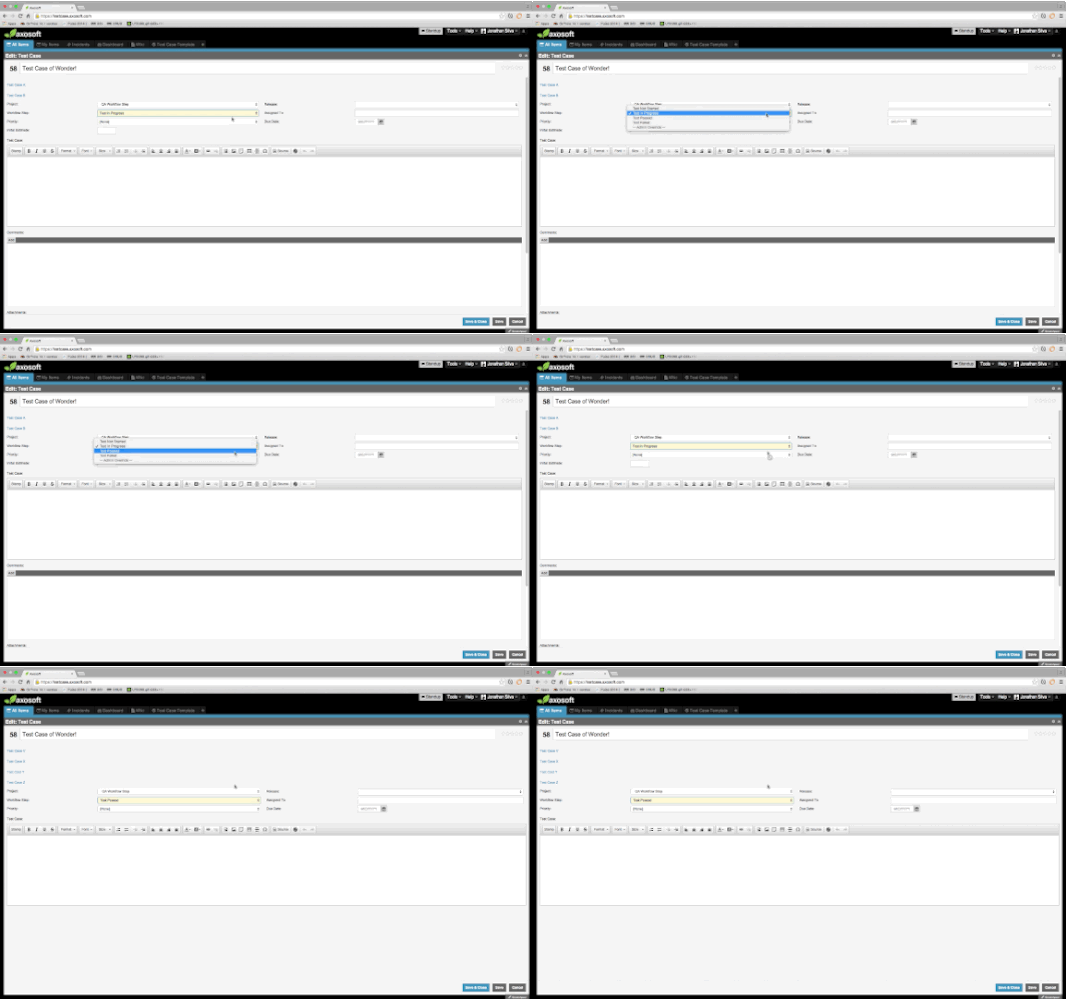
This happens in the background when you drag and drop. Note the change in fields!
3. Wiki and the testing workflow step
This is like use case #2 but rather than testing requiring an entire workflow, you only need one of the steps to house any test case. Use a custom field template and associate it to the workflow step to provide reference to these test cases.
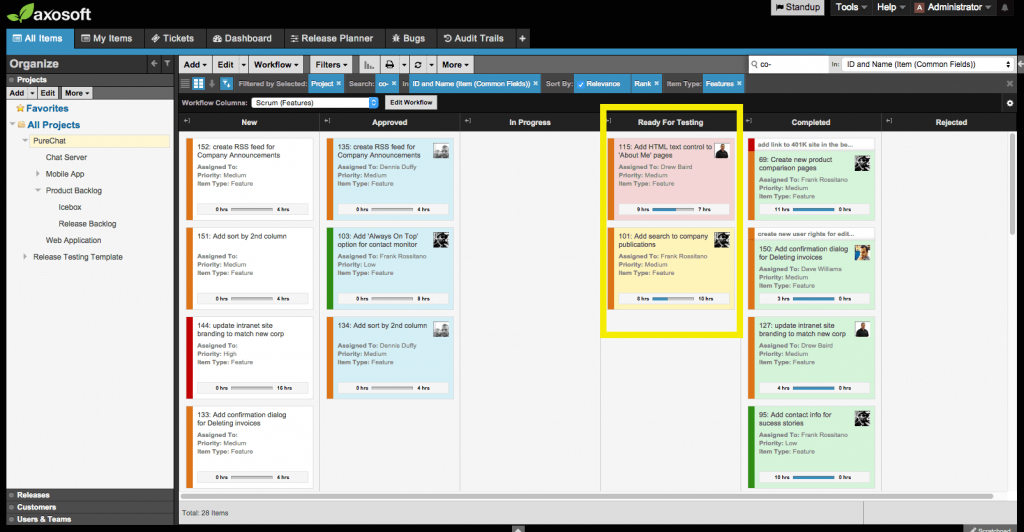
One step might be all you need.
Summary
Axosoft Wiki’s greatest feature is that it is unified with all your features, defects, tickets, etc. If you see other places where it makes sense to include a link, then try it out! For now, we hope this helps with your test case management.
